Showing posts with label FOOD. Show all posts

Monday, July 27, 2015

GOOSEBERRY JAM

      A few weeks ago, by my husband's request, I made some gooseberry jam. It was my very first time making any kind of jam. The whole process of canning and all that jazz always intimidated me, but lately I have been becoming more and more brave in that department. And since my in laws have a big garden and offered to us lots of gooseberries, I thought why not. 
      Well... the whole jam making process was lots of fun. And the jam came out to be very yummy! I mean it has been only 2 weeks since I made it, and its already almost gone. So right after I am done sharing the recipe with you all, I will go and make some more (thank God for grandma's garden). 
      So here is the super easy, step by step recipe:


Ingredients: 
2 lbs gooseberries
2 lbs granulated sugar

You will also need: clean sterilized glass jars and tops, large sauce pan or dutch oven, wooden spoon. 

1. Clean your gooseberries by cutting off the stalk at one end of each berry and the remains of the flower at the other. Then wash all the berries and let them dry in colander.

2. Meanwhile wash your jars in warm water and place them into the oven and turn the oven on to 290F. Make sure you DO NOT preheat the oven, but turn it on as soon as you put your jars and metal tops in.  Bake your jars for about 20-30 minutes. 


3. Put the gooseberries into a large sauce pan or dutch oven. Cook over gentle heat until the juice starts to run. Then simmer for 15-20 minutes until the fruit is soft enough to mash with a spoon. If you like to have a whole fruit jam, prick each berry with a needle before starting the cooking process.

4. Add the sugar and stir until it has dissolved (a minute or so).


5. Bring the jam to full boil, this means lots of bubbles across the whole surface of the liquid in the pan. Be careful, don't lean over the pan.
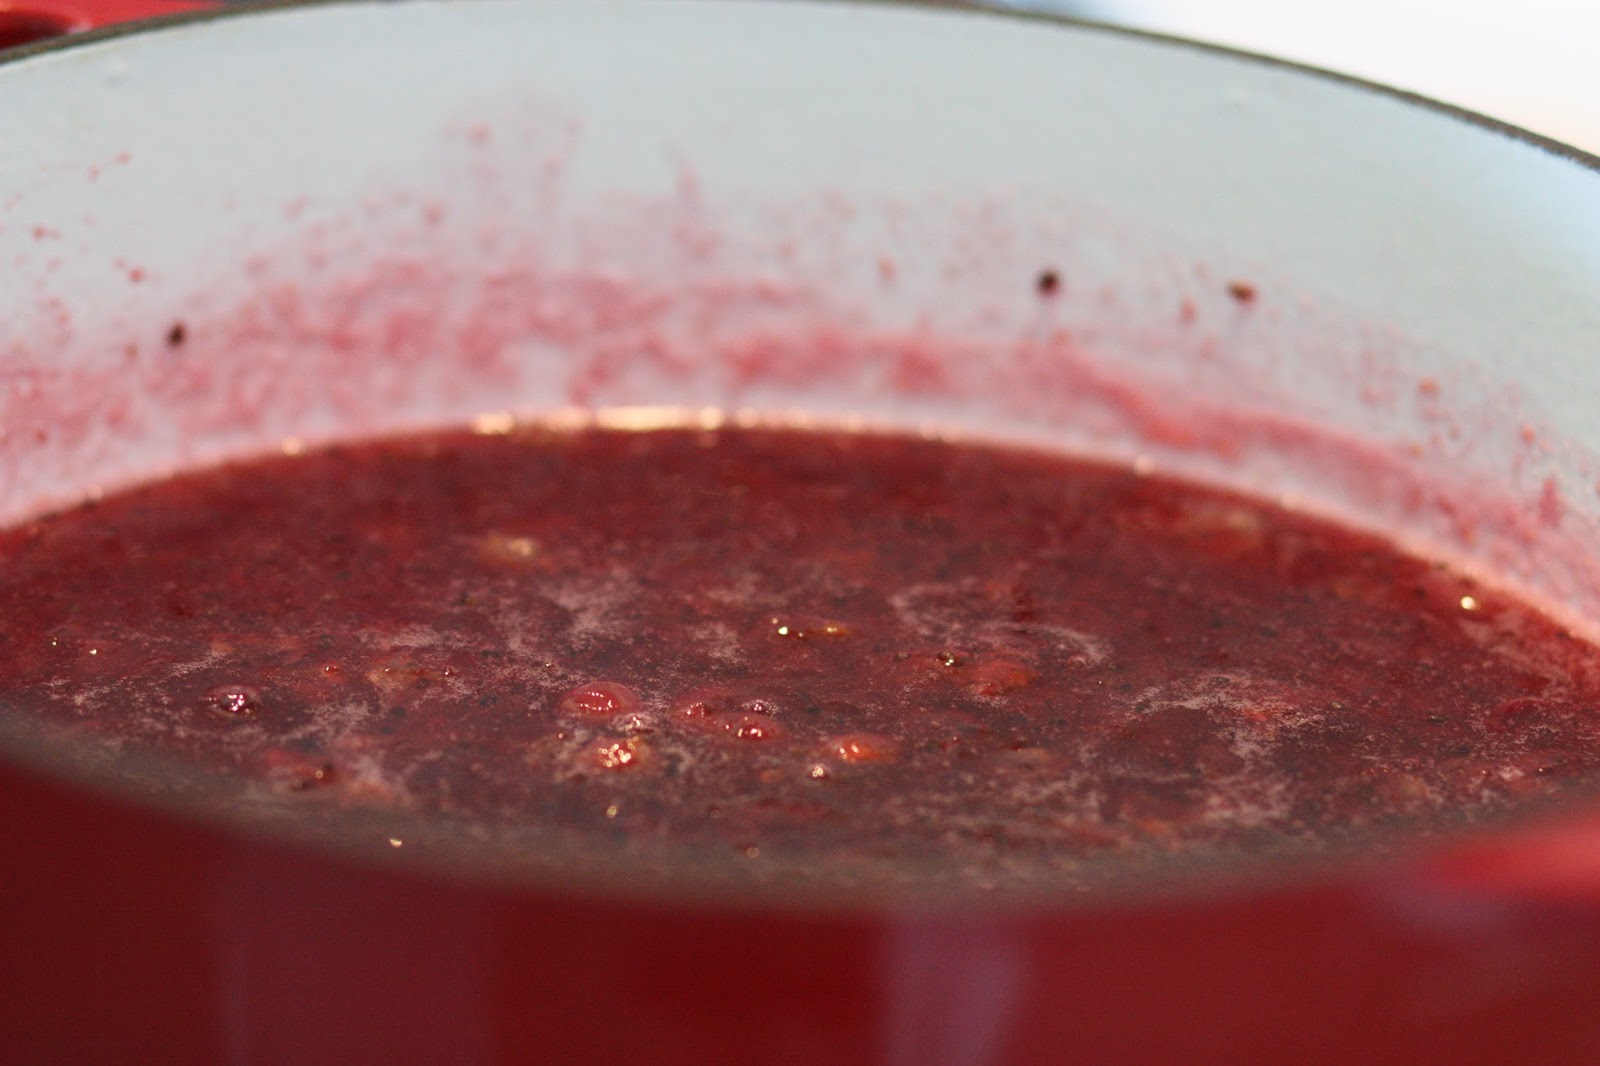

6. Boil until the setting point is reached. To test for setting point, scoop out a teaspoonful of jam and drip it onto a cold plate. After few seconds touch the jam gently with your finger, it if "wrinkles" that means your jam has reached the setting point and is done cooking. 

7. Remove it from the heat and pour into clean glass jars. Seal the jars immediately. Store it in a cupboard until you are ready to eat. 


Of course in our house the jam didn't get to enjoy any time in the cupboard... because my sweet husband couldn't resist to have some right away. 


I hope you enjoy it as much as my hubby did! 


                                                                                                                       love, Lesya


3.

Thursday, July 9, 2015

CREAM PUFFS

      I always wanted to make homemade cream puffs, because lets me honest those little balls filled with whipped cream are just so delicious. However, every single recipe I found required the cooking for the dough, and that just intimidated me so much. Well today on this very rainy day, I have overcome my fear of boiling dough and decided to give the cream puffs a try. The results are pretty delicious! To my surprise, this is probably the easiest dessert I have made! It would be a shame not to share this amazing recipes with all of you. I hope you enjoy it just as much as we did.
   

                                                                         CREAM PUFFS
Ingredients:

For the shells
1 cup of water
1 stick of unsalted butter
large pinch of kosher salt
2 Tbsp granulated sugar (I used raw cane sugar)
1 cup all-purpose flour
4 large eggs

For the cream
1 1/2 cups of heavy cream
3 Tbsp powdered sugar
1 tsp vanilla

Instructions:

1. Place water, butter, salt and sugar into a medium sauce pot over medium high heat. Stir until butter is melted and everything comes to a boil.
2. Reduce heat to medium. Add all the flour at once into the boiling mix, while quickly stirring. Continue to stir and cook off the moisture in the dough until it pulls away from the walls of the pot. This should take about a minute.
3. Place dough into a bowl of stand mixer with a paddle attachment. Allow to cool for about 5 minutes.
4. With mixer on medium-low speed, add eggs in one at a time. Do not add another egg until the one before has been completely absorbed into the batter. The batter will look smooth and glossy when ready.
5. Place batter into pastry bag fitted with a large round tip.
6. Preheat over to 425F. Line baking sheets with parchment paper or silpat.
7. Hold pastry bag over the baking sheet and squeeze over one area until you have about 2 inch round. You will have a little peak on each which can be smoothed out with a wet fingertip. Keep the mounds about 2 inches apart.
8. Place the baking sheet in the oven and turn up to 450F. Bake for 10 min (without opening the oven) then drop the heat to 350F and bake for another 13-15 minutes.
9. Fill cooled pastries with cream and dust with powdered sugar.

Cream:
1. Whip cream in stand mixer with whisk attachment.
2. Add sugar and vanilla and continue until soft to medium peaks form.
3. Fill pastry bag with the cream, and pipe into the bottom of the puffs until filled.


 I had a little helper, helping me clean the whisk attachment very well... he cleaned it spotless :)

 And of course I had another helper, helping me fill the puffs.


Enjoy! 

                                                                                                            love, Lesya


Friday, December 19, 2014

WHAT I COOKED

    We love love a good pot of Zuppa Toscana. But I just never know what to do with all the kale... The bags of kale, in our grocery store, are just enormous. And there is just no way, I am putting all this kale into one pot of Zuppa Toscana. Then the rest of the 3/4 of the bag sits in our fridge until it sends I unpleasant aroma throughout the fridge...
    Well this time I decided to be creative, and not let the rest of the kale go to waist. I put together bunch of ingredients I had in the fridge, and that's how this recipe was born. 
     For this recipe you will need
3/4 (or the whole thing) bag of kale
6-8 slices of bacon
1 can of white beans 
1 cup of sliced mushrooms 
2 large cloves of garlic
1 Tbsp of olive oil
1/2 tsp of salt

Start with heating up some olive oil in a large frying pan. Add sliced mushrooms and sauté until golden. Add the beans in and mince the garlic, keep sautéing for couple of minutes. Meanwhile in a separate pan fry cut up bacon until crispy. After 2 minutes add the kale into the large pan and let it wilt for few minutes. Add salt to taste and finally add the crispy bacon. Enjoy! 

I also had some yummy pitta bread with it. 


Friday, October 18, 2013

WHAT I COOKED

APPLE CRISP

This is one of our favorites treats during fall or winter! It's so easy to make, and it is so so delicious! 

Ingredients: 
2 cups all purpose flour
2 cups rolled oats ( or any oats you have) 
1 tsp ground cinnamon
1/2 tsp ground nutmeg 
1 1/2 cups packed brown sugar
1 1/2 cups ( 3 sticks) butter at room temperature
2 quarts peeled, cored and sliced apples

Directions: 
1) preheat oven to 350F 
2) in a large bowl combine all the dry 
ingredients. Cut butter into mixture until crumbly.
My cute little helper.

3) take half of the mixture and pat it into the bottom of 9x13 inch baking dish.
4) cover crumb mixture with apple slices, then sprinkle apple slices with remaining crumb mixture. 
5) bake at 350 F for 45-50 minutes or until apples are tender. 

Enjoy with vanilla ice cream! Or the way we like it, with cup of delicious coffee! 


Saturday, September 21, 2013

WHAT I COOKED

CRAB SALAD

This salad is my most favorite one! It can be paired as side dish or you can enjoy it as is, and still be satisfied. 

Imitation crab meat (14oz pckg) 
4 boiled eggs
1 cup of frozen corn
1/2 cup of frozen sweet peas
1/4 cup of green onions
Salt and pepper to taste
3 Tbs mayo
Chop the crab meat and eggs mix it rest Of the ingredients, and enjoy! How easy I this?!

WHAT I COOKED

CHOCOLATE SALAMI

Thanks to olgasflavorfactory.com I have finally found the recipe I was looking for! This chocolate salami! This delicious dessert brings back so many childhood memories... And it's just so easy to make! So here is a recipe for all of you to enjoy:
1 package of animal crackers ( 16oz) 
2 sticks of butter, melted
3 Tablespoons cocoa 
1 (14oz) can of sweetened condensed milk 
Crush the crackers with rolling pin 
In a large bowl, mix together the melted butter, cocoa and condensed milk.
Add the mix to the crashed crackers and mix to combine.
You should get something like this 
Scoop out part of the mixture onto parchment paper
Shape the cracker mixture into a log and wrap tightly inside the parchment paper. As you can see mine are not perfect! I ended up with 4 good size logs!
Chill in the refrigerator or freezer. 
Enjoy the final product with tea or coffee. My favorite is tea!